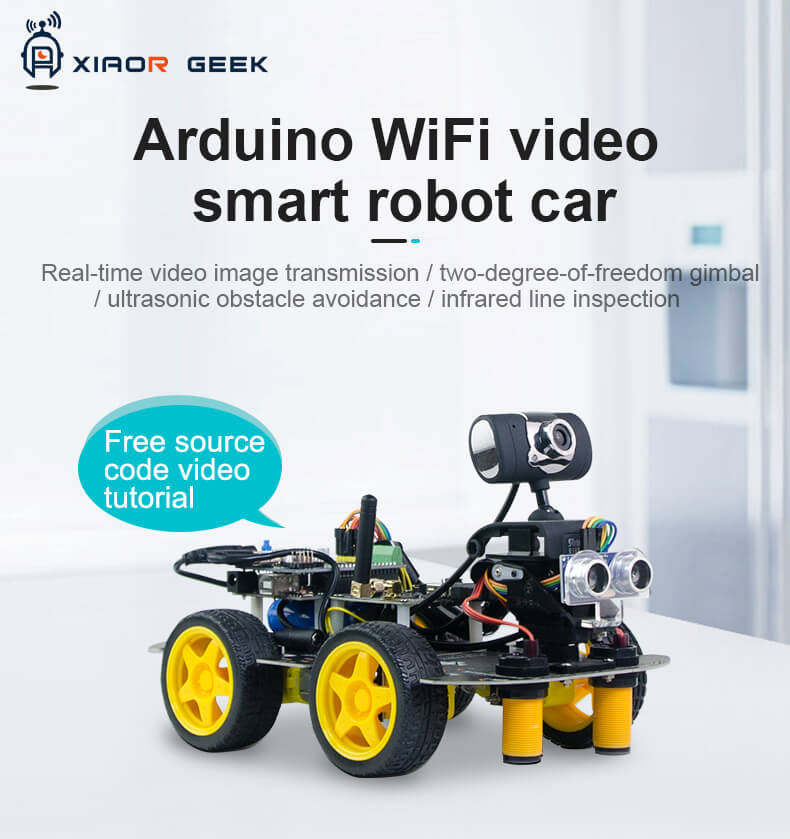
The correct use of the XR DS Arduino robot car involves several aspects such as hardware connection, software installation and configuration, and programming implementation. The following will introduce in detail the steps of using the XR DS Arduino intelligent wireless video robot car:
1. Hardware connection
Purchase and preparation:
To purchase the XR DS Arduino robot car.
you can choose the corresponding package according to your needs. There are three packages available for the XR DS Arduino smart robot car:
The first is an entry-level kit, which includes 30 sensor modules and corresponding accessories.
The second is a deluxe kit, which includes 48 sensor modules and corresponding accessories.
The third is a pure module version, which includes 45 sensors, but no corresponding accessories are provided.
Connect electronic components:
According to the project requirements, connect electronic components (such as LED lights) to the corresponding pins of the Arduino development board through wires.
Pay attention to the polarity of the electronic components and ensure correct connection.
Connect the computer:
Use a USB cable to connect the Arduino development board to the USB port of the computer.
2. Software Installation and Configuration
Download the mobile phone or PC remote control APP:
https://xiaorgeek.github.io/DownloadCenterTemplate/
Download Arduino IDE:
Visit the Arduino official website (https://www.arduino.cc/en/software) to download the Arduino IDE for your operating system.
Install Arduino IDE:
Double-click the downloaded Arduino IDE installer and follow the prompts to complete the installation.
Configure Arduino IDE:
Open Arduino IDE and select the correct development board model (XR DS Arduino).
Select the correct serial port (COM port), which usually corresponds to the USB port connected to the Arduino development board.
3. Programming Implementation
Write code:
Write code in the Arduino IDE to control the electronic components on the Arduino development board.
You can use the sample code provided by the Arduino IDE as a starting point for modification and expansion.
Compile and upload the code:
Click the "Verify" button in the Arduino IDE to check whether the code is correct.
Click the "Upload" button to compile and upload the code to the Arduino development board.
Test and Debug:
Observe the response of the electronic components to verify whether the code is executed correctly.
If there is a problem, use the debugging function of Arduino IDE to troubleshoot and fix it.
Beginners can also learn courses on the XiaoR GEEK official website, lim:
https://www.xiaorgeek.com/Study/Study/catalog/cid/1
IV. Precautions
Ensure safety:
When connecting electronic components, pay attention to avoid safety issues such as short circuits and overcurrent.
Backup code:
Back up the code regularly to prevent accidental loss or damage.
Continuous learning:
Arduino is a powerful tool with many functions and uses waiting for you to explore and learn.
Through the above steps, you should be able to use XR DS Arduino correctly for project development. If you have more questions, it is recommended to consult the official Arduino documentation or XiaoR GEEK related tutorials for in-depth learning, or you can contact our technical support in time: service@xiaorgeek.com.
How to correct use XR-DS Arduino wireless smart robot car?

Kategorien: Arduino car, Arduino robot, Arduino robot car, Arduino uno r3, Robot car, Smart car, Smart robot car
